Good wildlife technique begins before exposure settings. Choose a legal position with a stable footing, a clear retreat route and enough distance that your subject can continue normal activity. Then decide what the available light, lens and habitat allow. A camera cannot make an intrusive position ethical, and a longer lens does not remove the need to watch for disturbance.
Choose a story your position can support
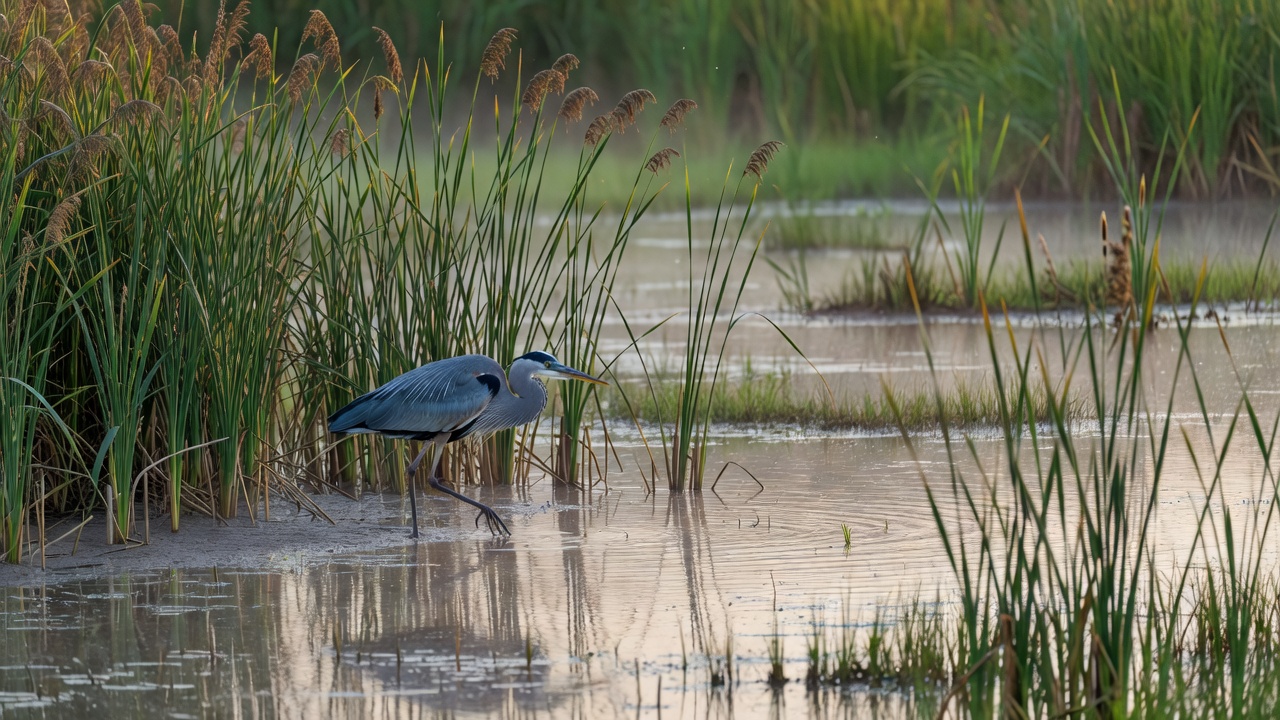
A small animal in a broad landscape can make a stronger photograph than a tight portrait. Include a reed bed, shoreline, canopy or weather front when those elements explain the encounter. Leave space in the direction of movement and look for clean separations between the subject and nearby branches. Move only within permitted areas, and only when doing so will not interrupt the animal.
Do not treat cropping as a failure. A modest crop may preserve a moment photographed from an appropriate distance. However, no amount of digital enlargement restores detail that was never recorded. When the subject is too small, let habitat and light carry the composition instead of chasing a frame-filling result.
Set shutter speed for the movement
For a walking mammal, a shutter speed around 1/500 second can be a useful starting point. Fast wingbeats or running animals may require 1/2000 second or faster. These are starting points, not guarantees: subject speed, direction, focal length and your steadiness all matter. Check a few frames at useful magnification when doing so will not distract you from your surroundings.
Image stabilisation reduces some camera movement; it does not freeze a moving animal. Raise ISO when necessary rather than accepting unintended blur simply to keep the ISO value low. A sharp, slightly noisy record often communicates more than a clean file with no usable subject detail. Intentional motion blur is a valid creative choice when made from a responsible position.
Balance aperture, focus and background
A wide aperture can isolate an animal, but an extremely shallow depth of field may leave the eye soft when the subject turns. Stop down when you need more of the head or several animals in focus, provided the shutter speed remains suitable. Check bright feathers or pale fur for clipped highlights, particularly against dark woodland or water.
Continuous autofocus is useful for movement, while a small focus area can help prevent the camera selecting foreground twigs. Animal-eye detection can be helpful, but it can also lock onto the wrong feature. Learn how to change focus areas without searching through menus. Practise on ordinary, non-sensitive subjects before relying on a new feature during a brief encounter.
Reduce unnecessary sound and movement
Set up straps, lens hoods and support before reaching the viewing point. A monopod or tripod may reduce fatigue, but do not spread legs across paths or push them into vulnerable vegetation. In a hide, avoid sudden lens movements through the opening and follow any instructions about keeping equipment inside.
An electronic shutter may reduce sound, but fast movement can produce rolling-shutter distortion, and some artificial lighting can cause banding. Test your own camera. Short, deliberate bursts are usually easier to review and less distracting than holding the shutter continuously. Disable nonessential beeps, and avoid flash around wildlife unless a lawful, species-appropriate professional protocol explicitly supports its use.
Prepare for imperfect conditions
Heat shimmer can soften distant subjects even when focus is correct. Mist, rain and backlight may reduce contrast while adding atmosphere. Resist approaching solely to overcome conditions. Protect your equipment without shaking rain covers near an animal, and keep batteries accessible so a routine change does not become a noisy rummage.
On a phone, use the available optical camera rather than expecting extreme digital zoom to produce detail. A broad habitat photograph, a permitted trail scene or a distant animal silhouette can still be meaningful. The limitation belongs to the equipment, not to the animal’s obligation to move closer.
Review technique and conduct together
When selecting images, note both technical choices and the conditions of capture. Do not describe a captive or controlled encounter as an unassisted wild moment. Avoid edits that create misleading behaviour in a documentary context. The most useful improvement question is not simply “Was it sharp?” but “Could I make this photograph again without asking more of the animal?”
Continue with behavioural observation or plan a route using our habitat guidance.